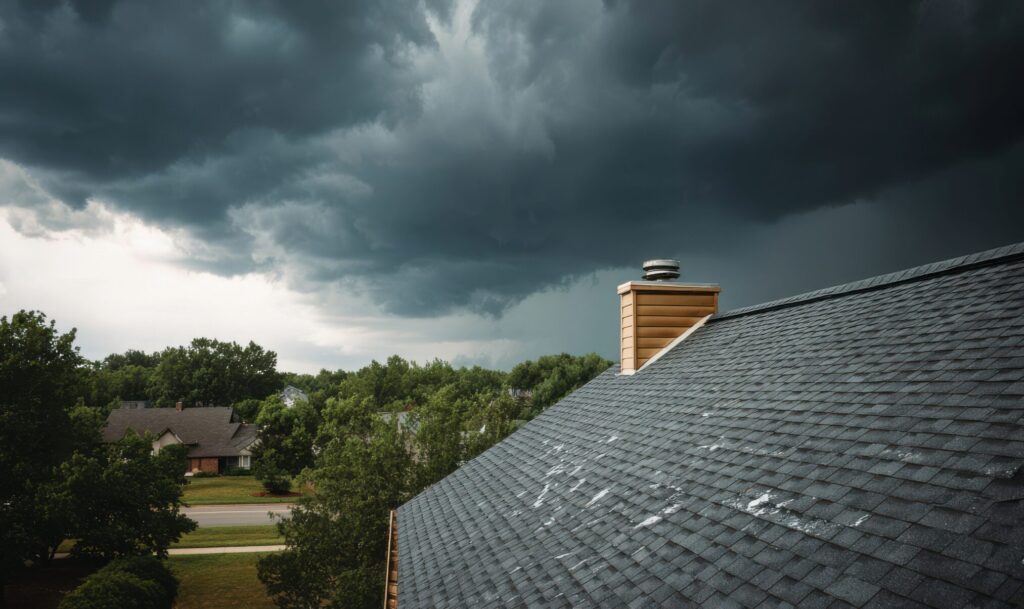
Weather Happens, Be Ready For It
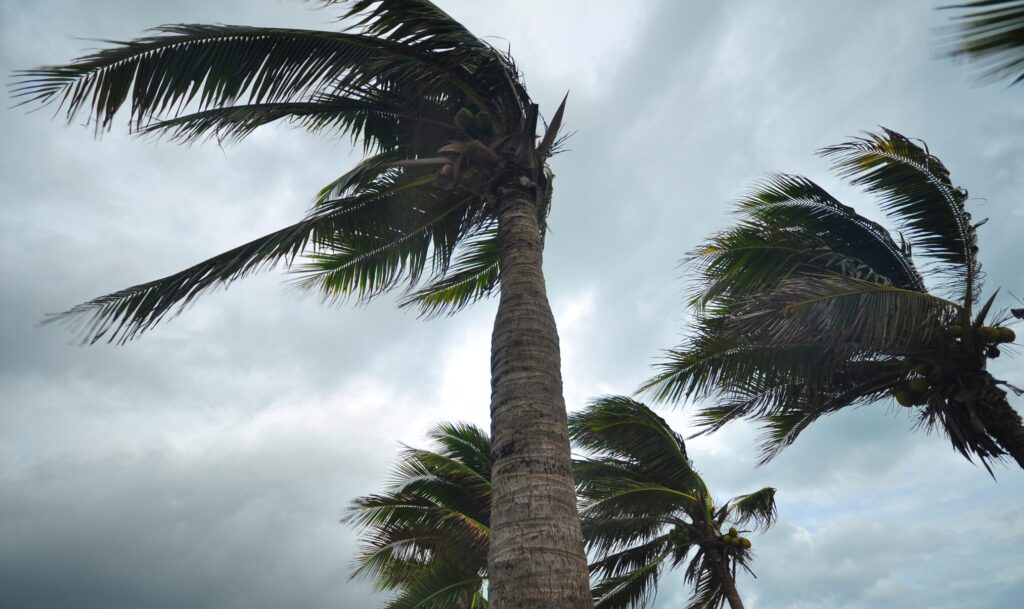
Hurricanes and tropical storms are powerful, rotating weather systems that originate over warm ocean waters. They are capable of producing […]
Hurricanes and tropical storms are powerful, rotating weather systems that originate over warm ocean waters. They are capable of producing […]
Three Ways Dealers Can Prepare for Storm Season As storm season approaches, roofing wholesalers and dealers are vital partners in
As the frost thaws and the roofing season kicks into high gear, every minute on the clock and every hand

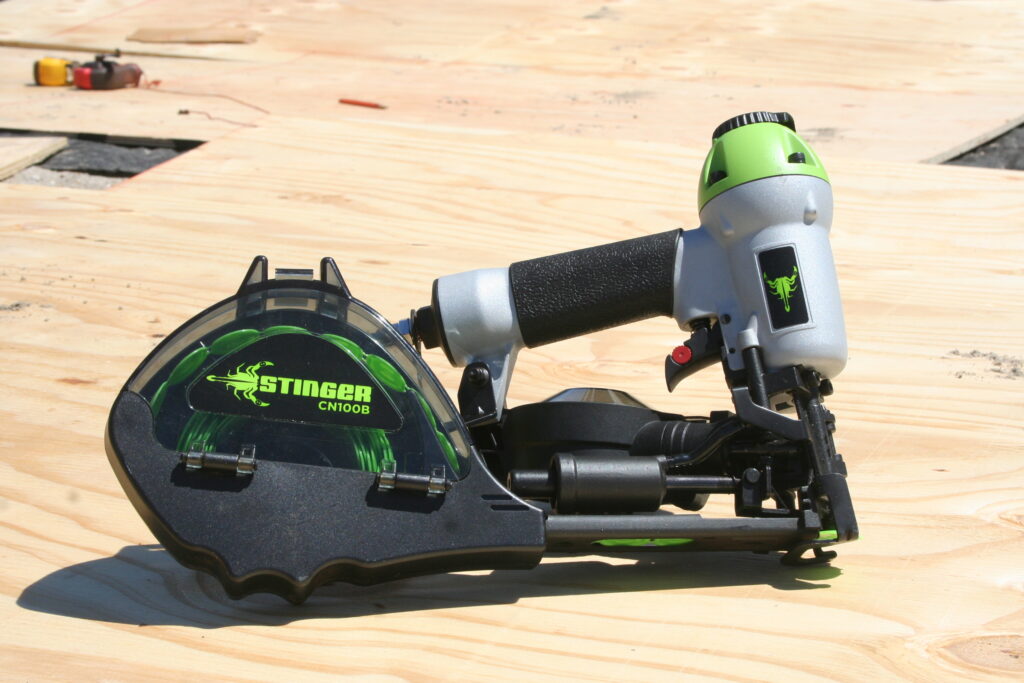
In the world of roofing, speed and reliability aren’t just nice to have — they’re table stakes. Whether you’re installing
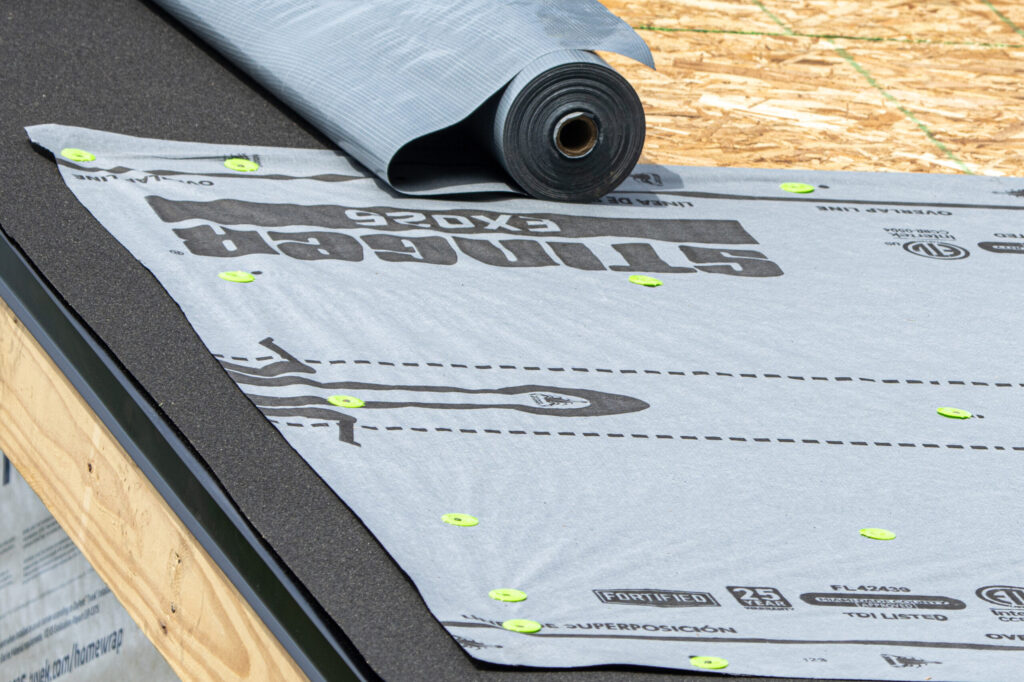
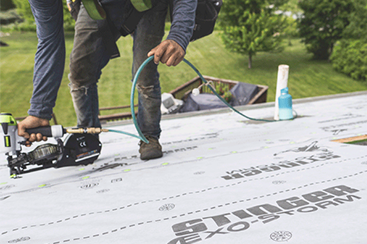
When it comes to protecting a home, the most critical defense is often what lies directly beneath the surface. STINGER®
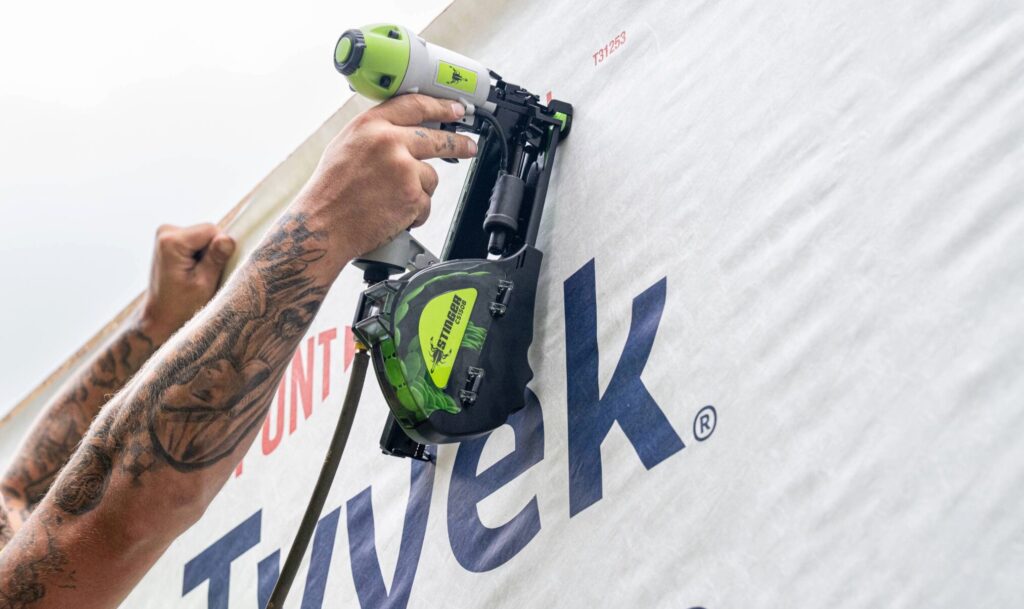
On every siding or fencing job, fastener choice makes the difference between a strong build that holds tight and looks
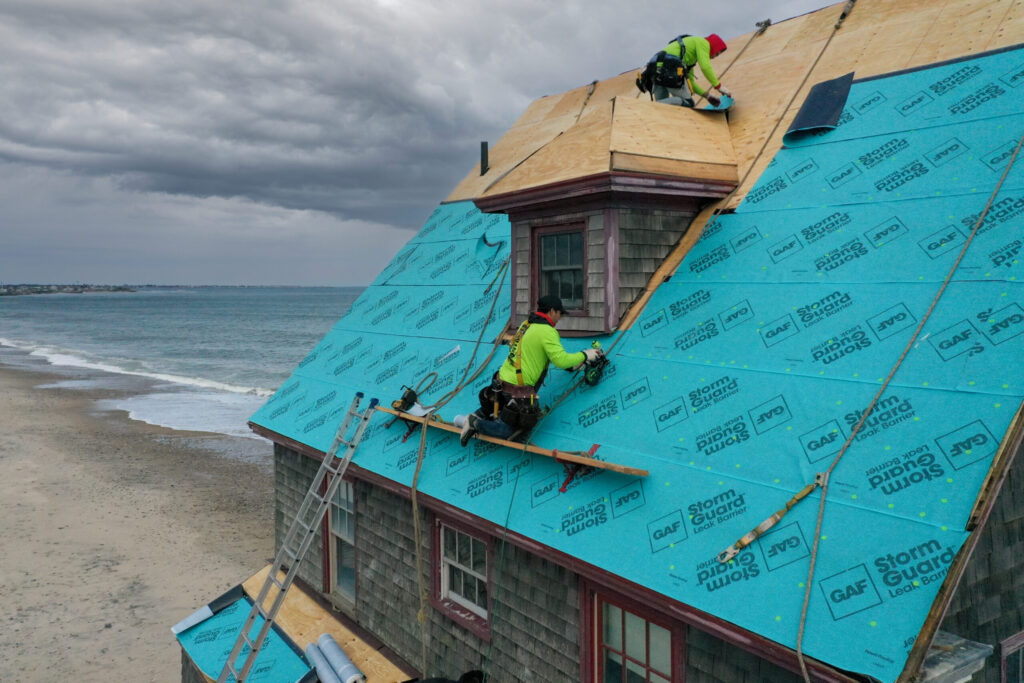
Roof and sidewall durability start with how you install the critical protective layers that shield structures from water infiltration and
Two-layer roof installs have always come with built-in waste. Standard underlayment applied at the eave edge and the roof ridge
When customers come to your store looking for house wrap fasteners, they’re not really shopping for staples or nails. They’re
From Gulf Coast hurricanes to Midwest tornadoes, the risks of severe weather are real, and their destructive impacts are making